Projects and team members
The project is where all context for one engagement lives: source material, structured datapoints, sheets, boards, generated documents, and the collaboration around them.
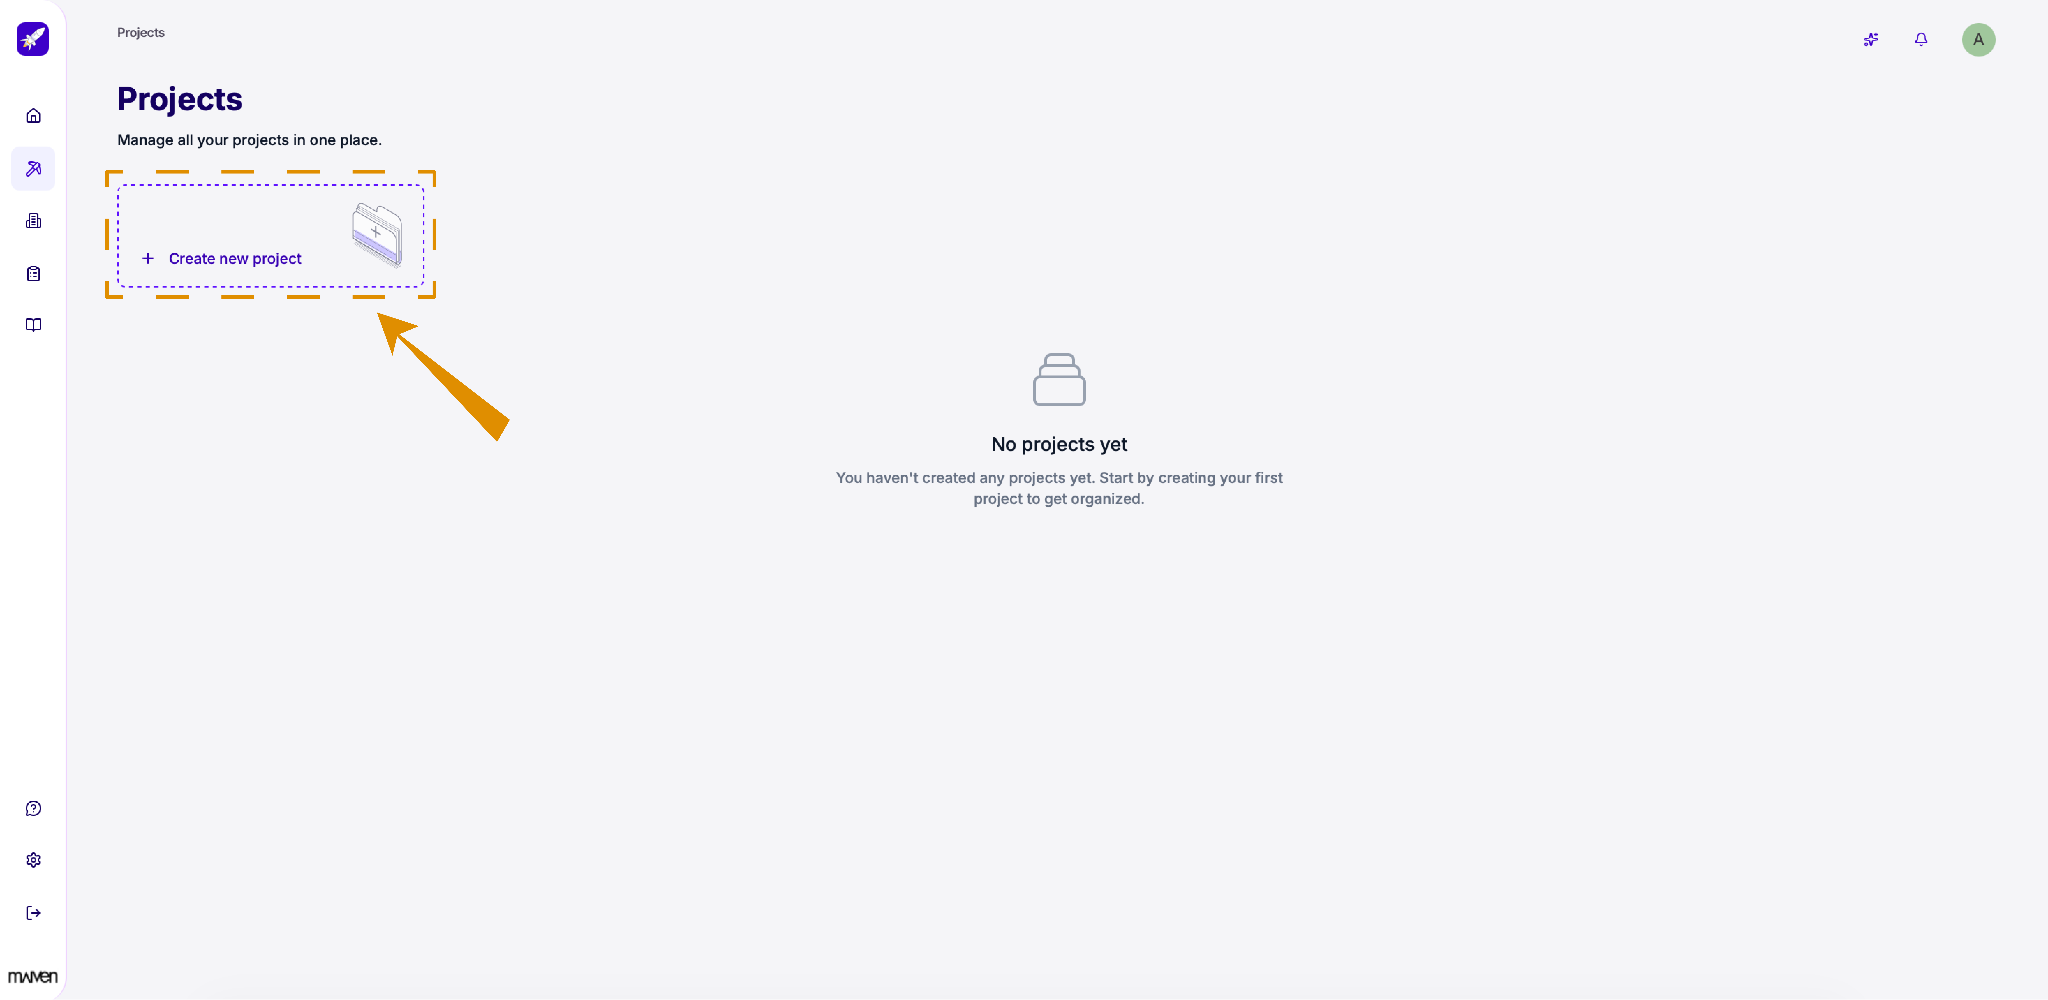
All your projects live on the Projects page. To get started, click + Create new project.
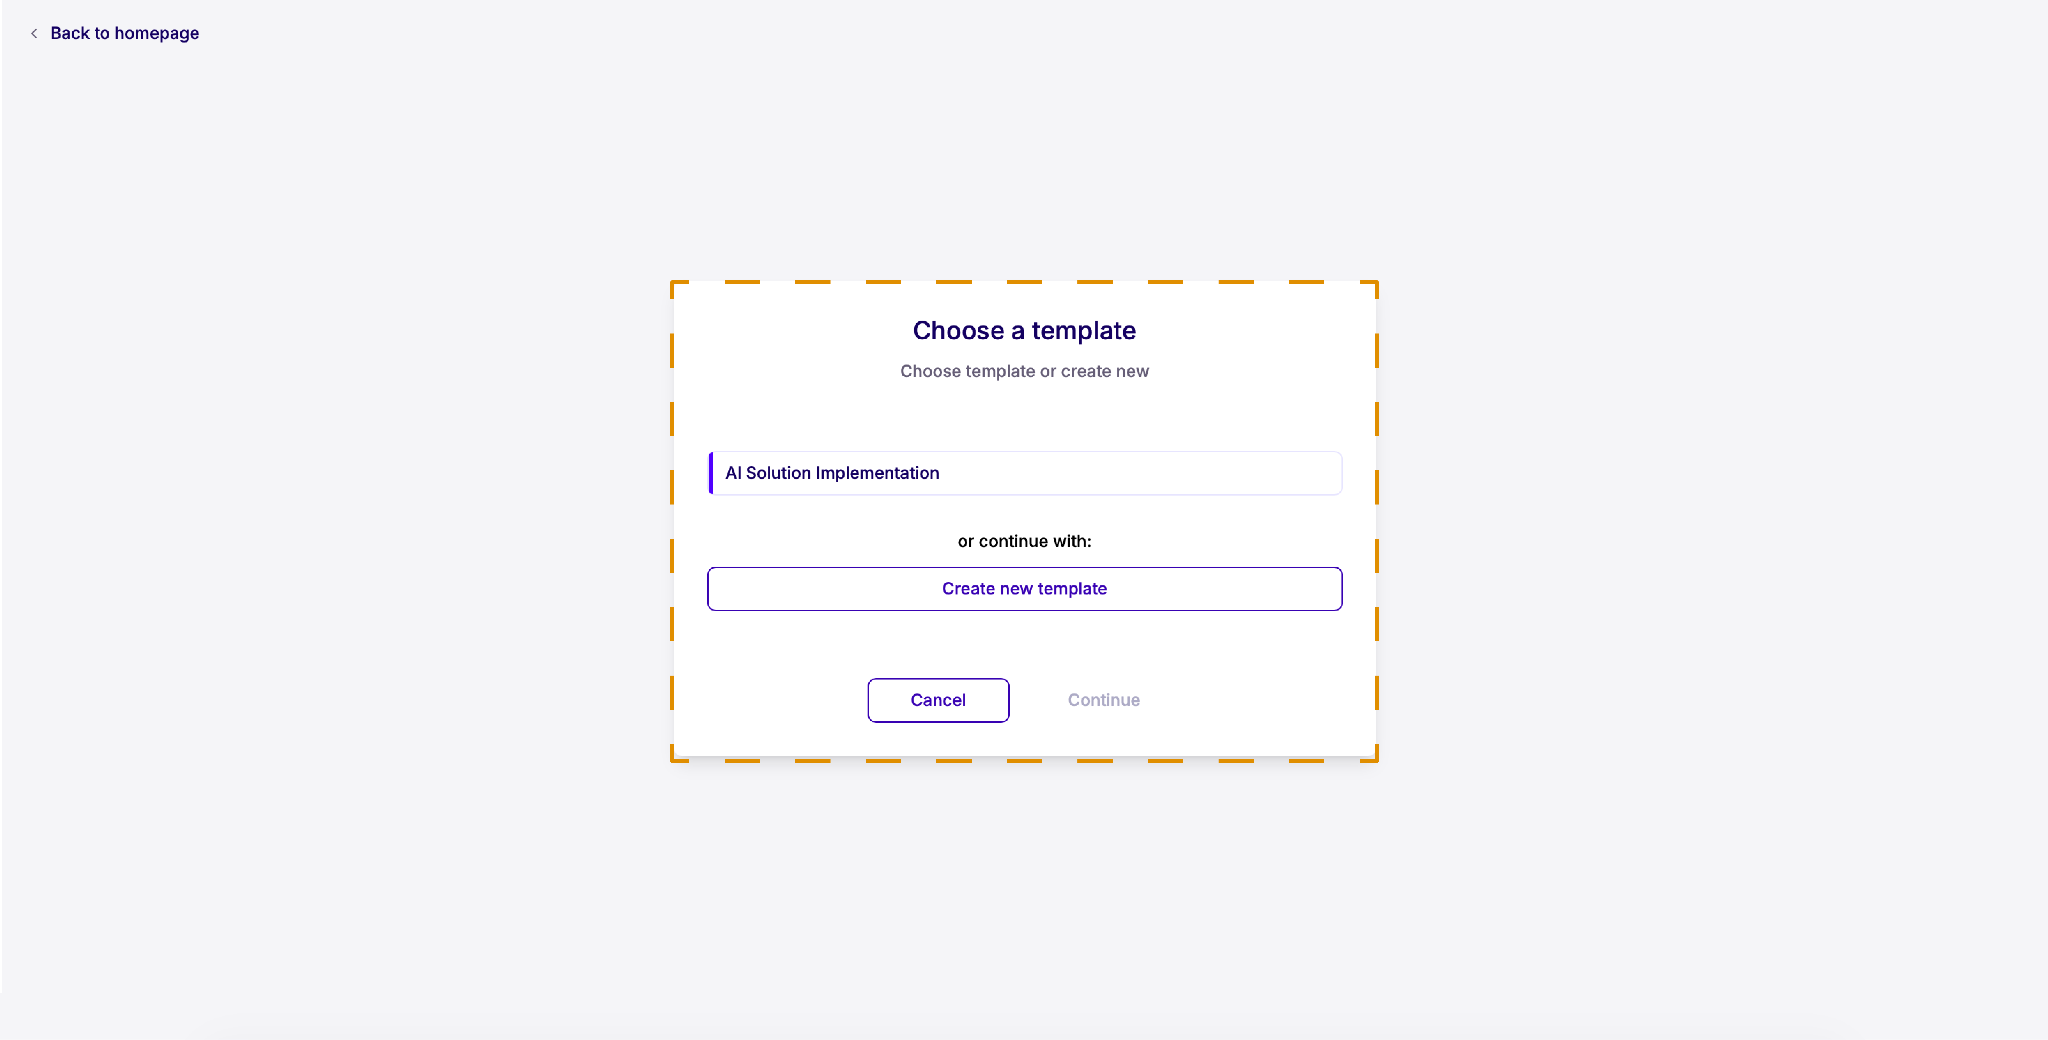
1. Choose or create a template
Pick a template for your project from the list, and click “Continue”. Your project will be set up with that template's datapoints, sheets, and document templates.
Don't see one that fits? Click “Create new template” to build your own.
2. Select or add company
Company. A client or internal entity with a country flag and creation date. Projects belong to a company.
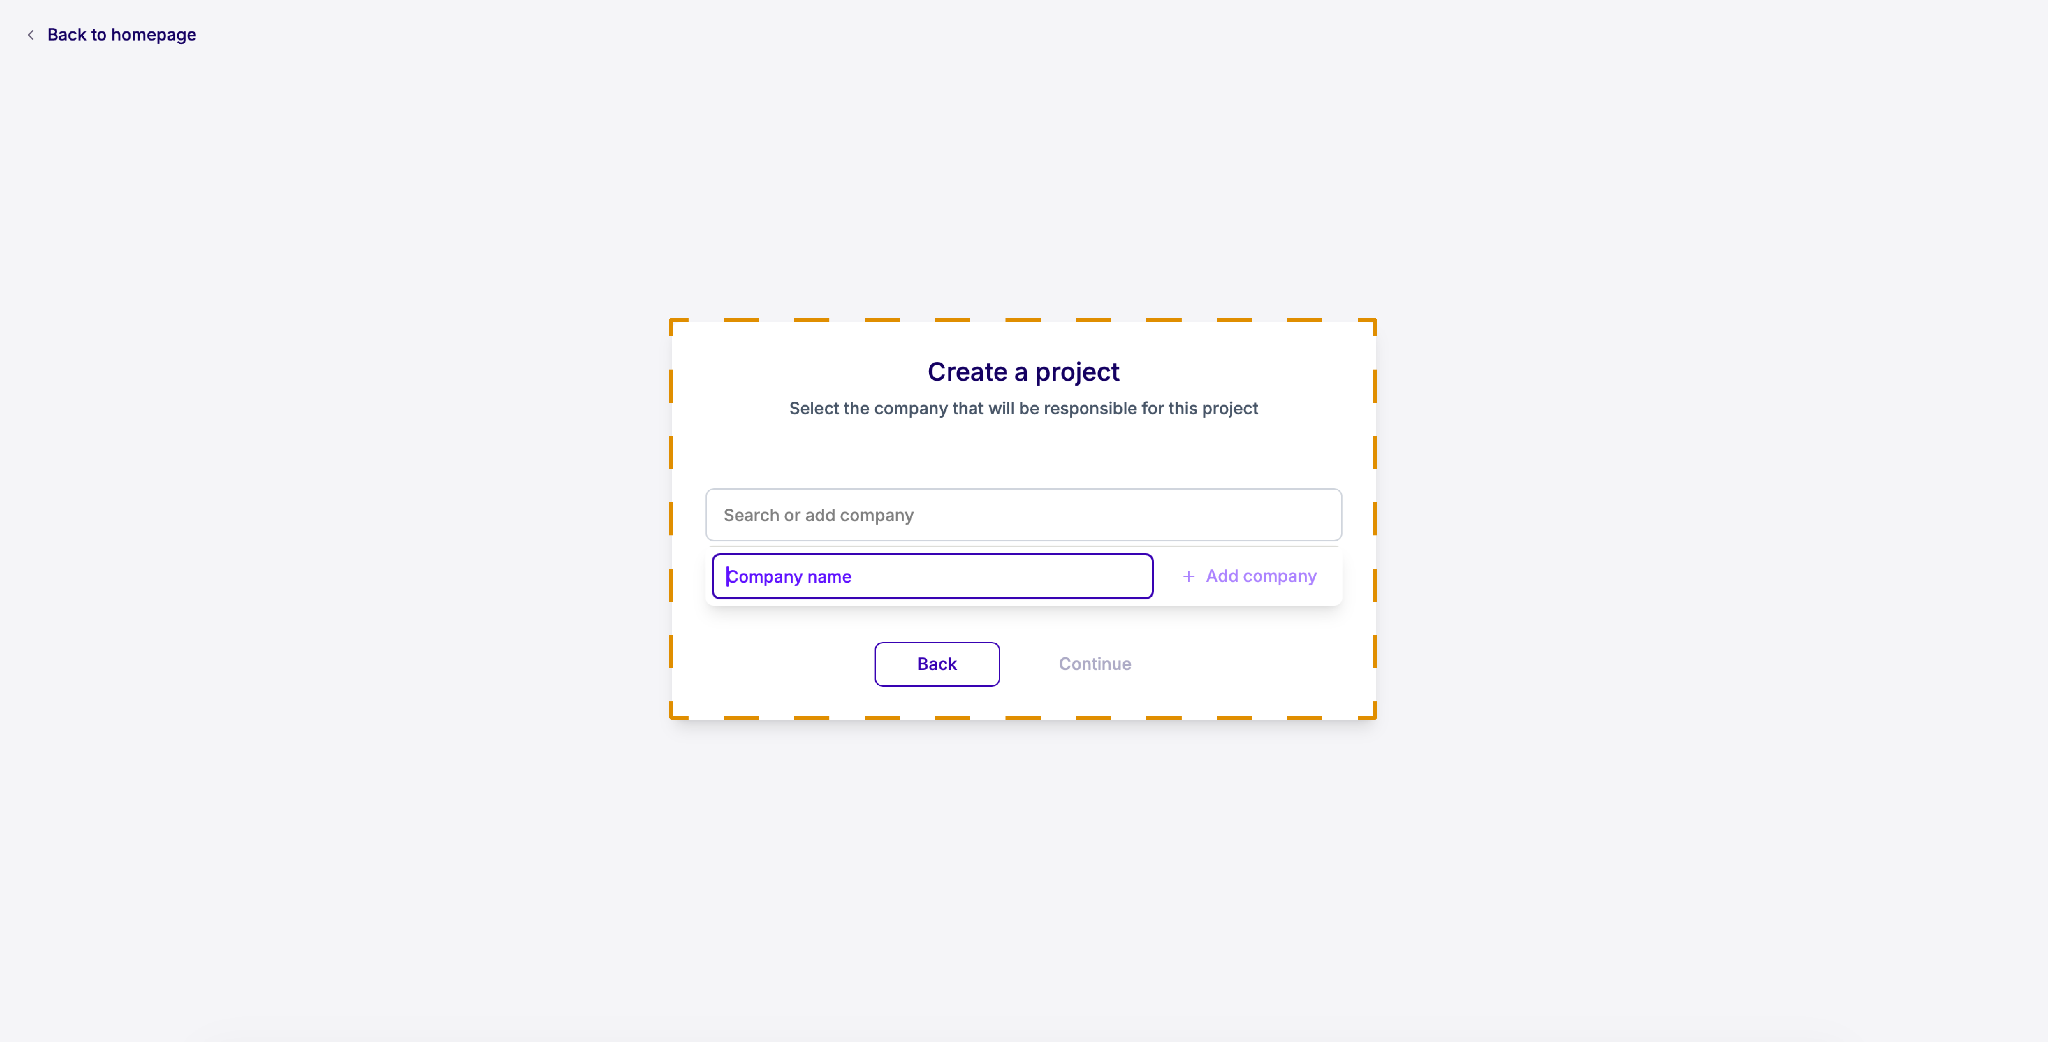
Choose the company responsible for this project. Start typing in the search field to find an existing company.
If it's not on the list yet, enter its name in the Company name field and click + Add company.
2.1 Add company details
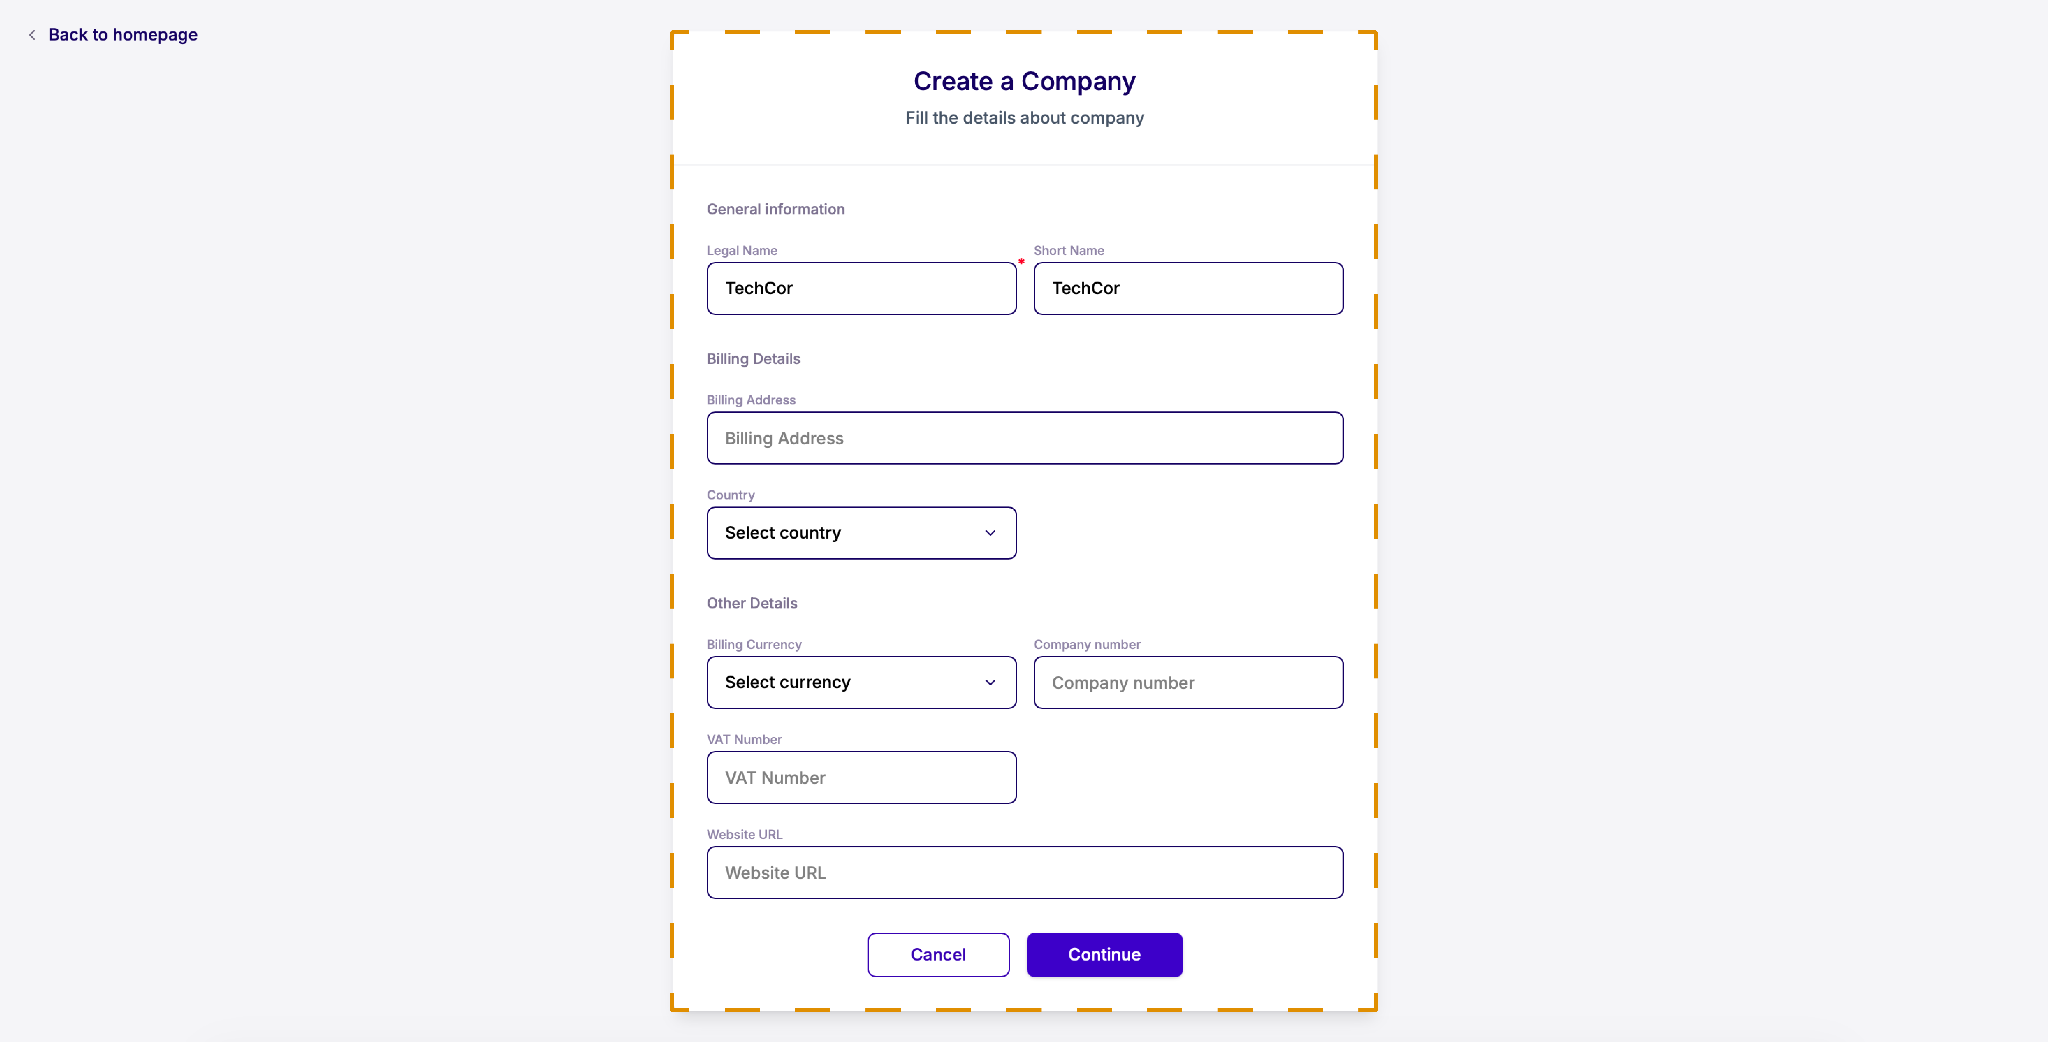
Fill in the details for the new company. Enter its legal name and a short name, which is the name shown across Lumiare.
You can also add billing details (billing address and country) and other details: billing currency, company number, VAT number, and website. These are optional, so you can fill them in now or later.
3. Add project details
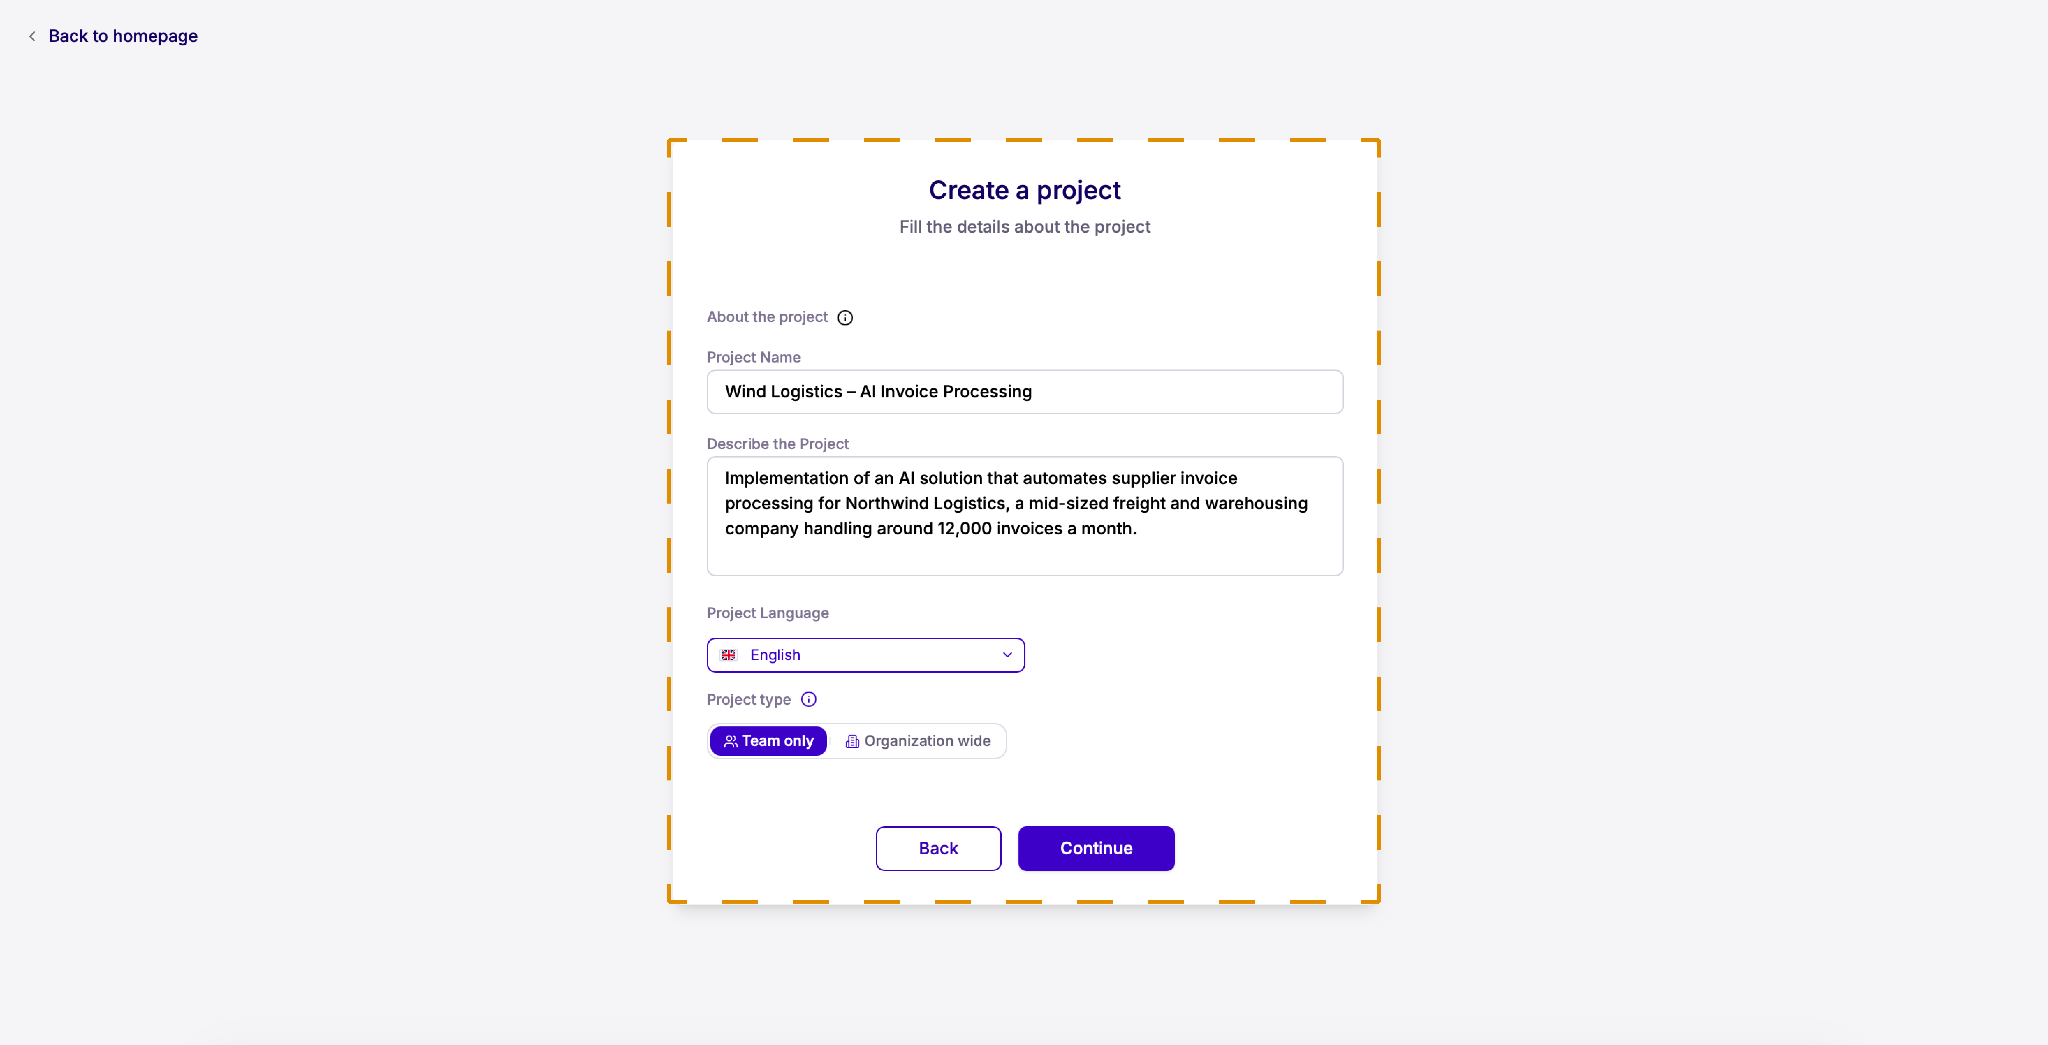
Give your project a name and a short description of what it's about. A clear description helps the agent understand the project's context.
Next, choose the project language and the project type.
Team only keeps the project limited to your team;
Organization wide makes it available to everyone in your organization.
Your project workspace is ready!
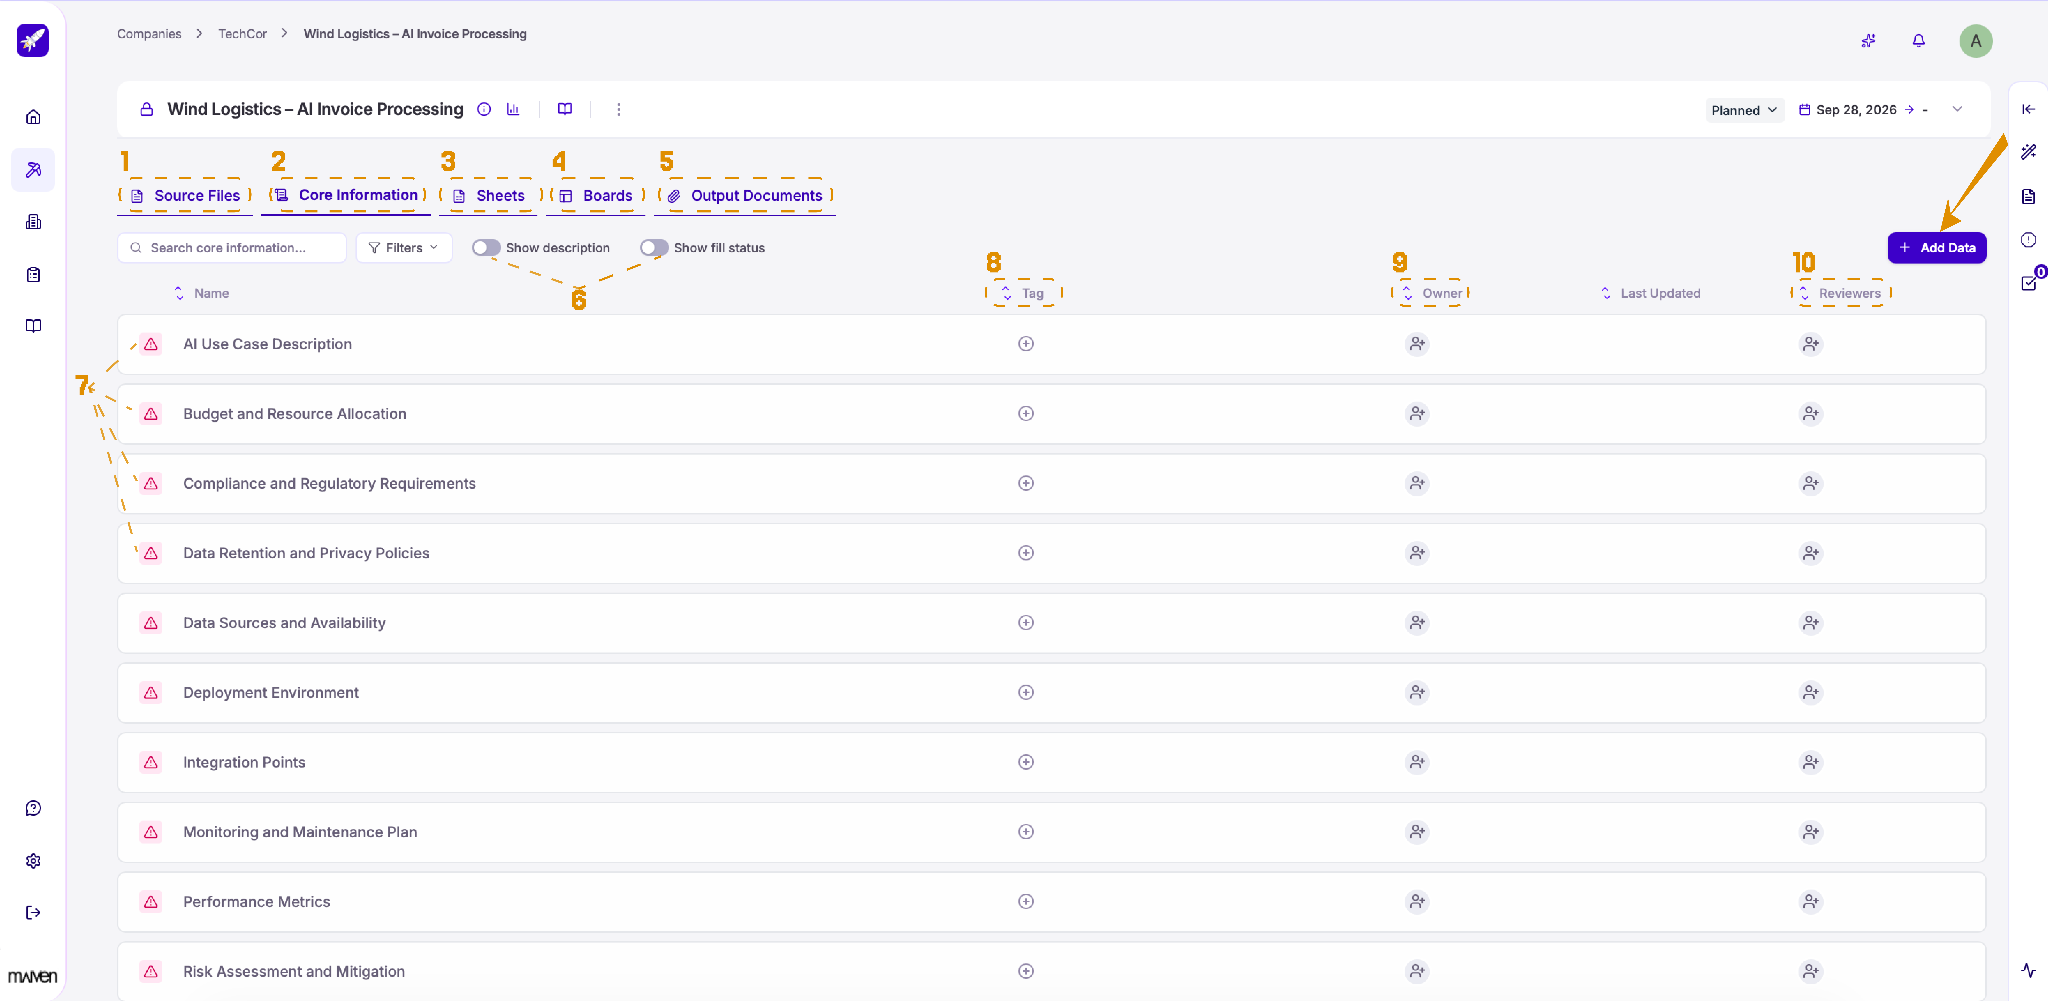
Once your project is created, this is where you'll work with it. Here's what each numbered area does:
-
Source Files: Upload and manage the files your project is built on.
-
Core Information: View all the project's datapoints in one place.
-
Sheets: Open the sheets included in your project template.
-
Boards: Organize and track the project's work visually.
-
Output Documents: Generate and access the documents created from your project's data.
-
Show description / Show fill status: Turn these on to see each datapoint's description and how complete it is.
-
Datapoint (Core Information): Structured heart of a project. A datapoint is one defined piece of knowledge the project needs.
-
Tag: Add tags to group and filter datapoints.
-
Owner: Assign the person responsible for a datapoint.
-
Reviewers: Add the people who should review and approve it.
To add new information to the project, click + Add Data in the top-right corner.
Invitation to the project
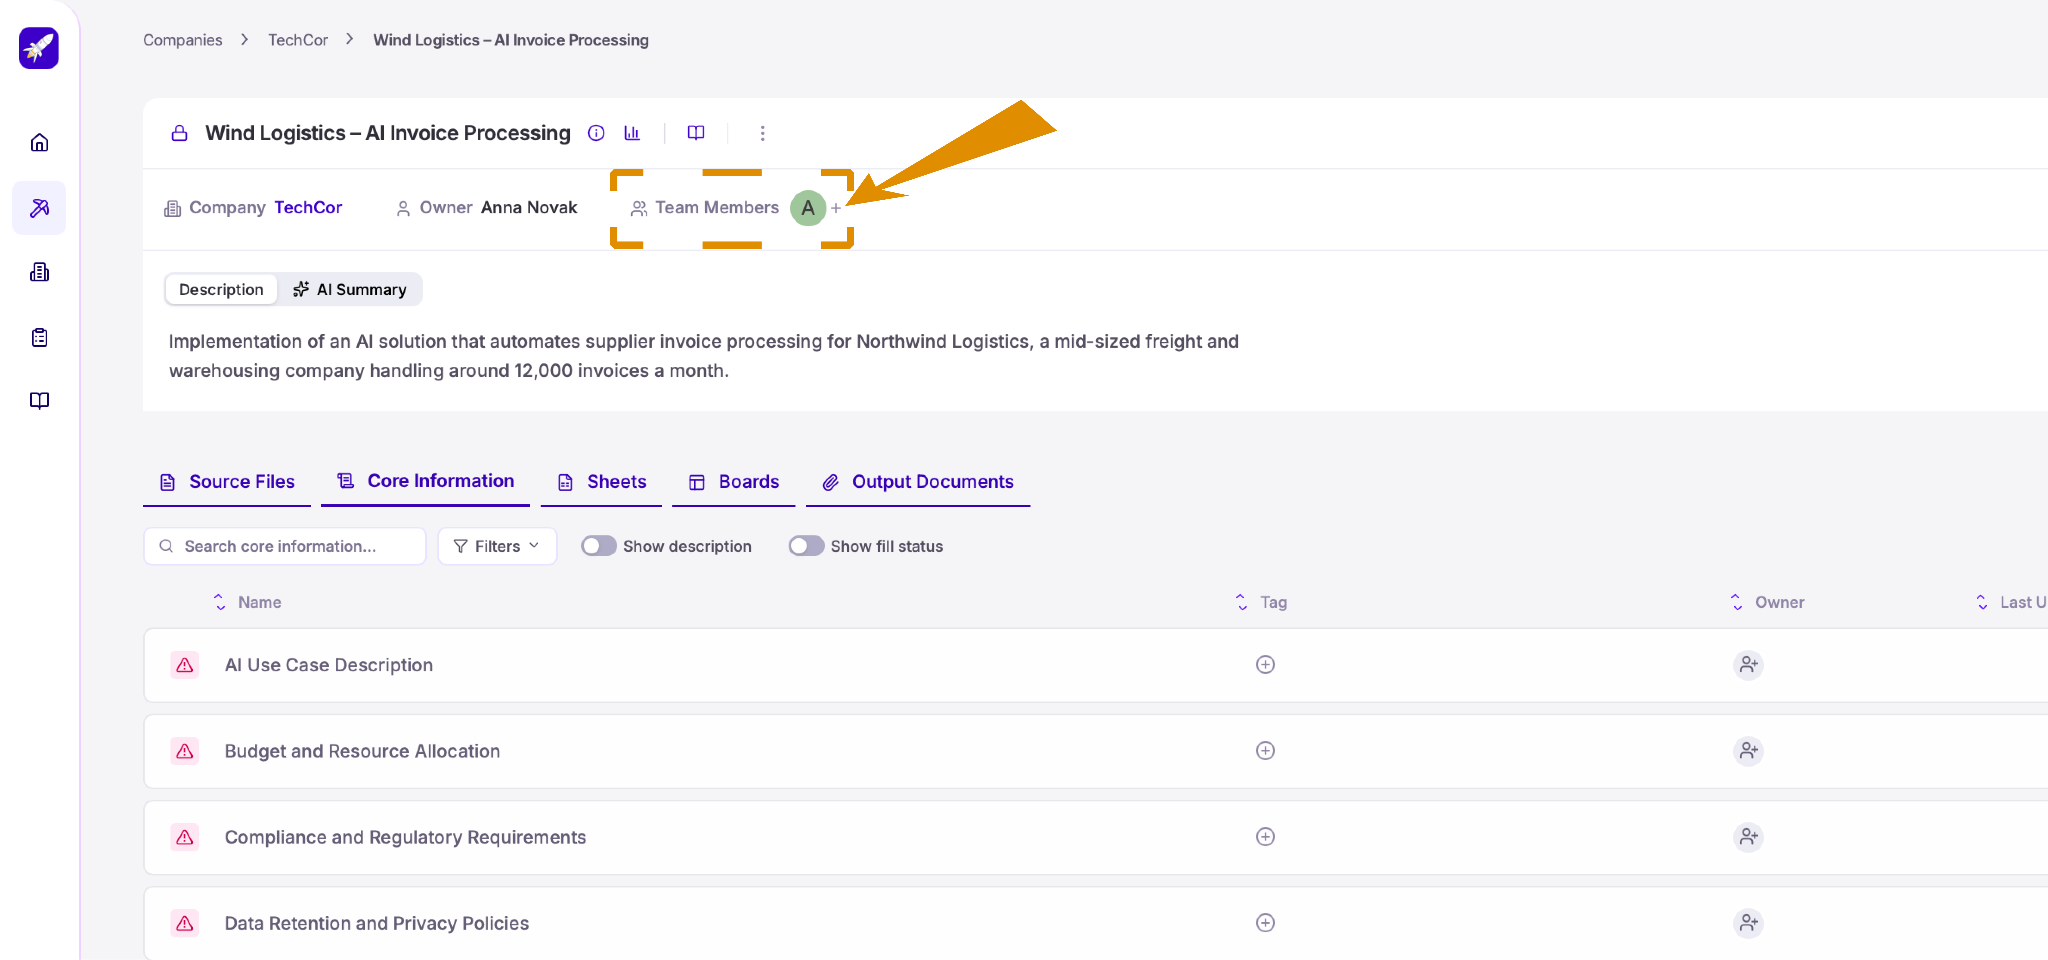
To bring others into the project, click the + icon next to Team Members at the top of the project page and choose who you'd like to add.
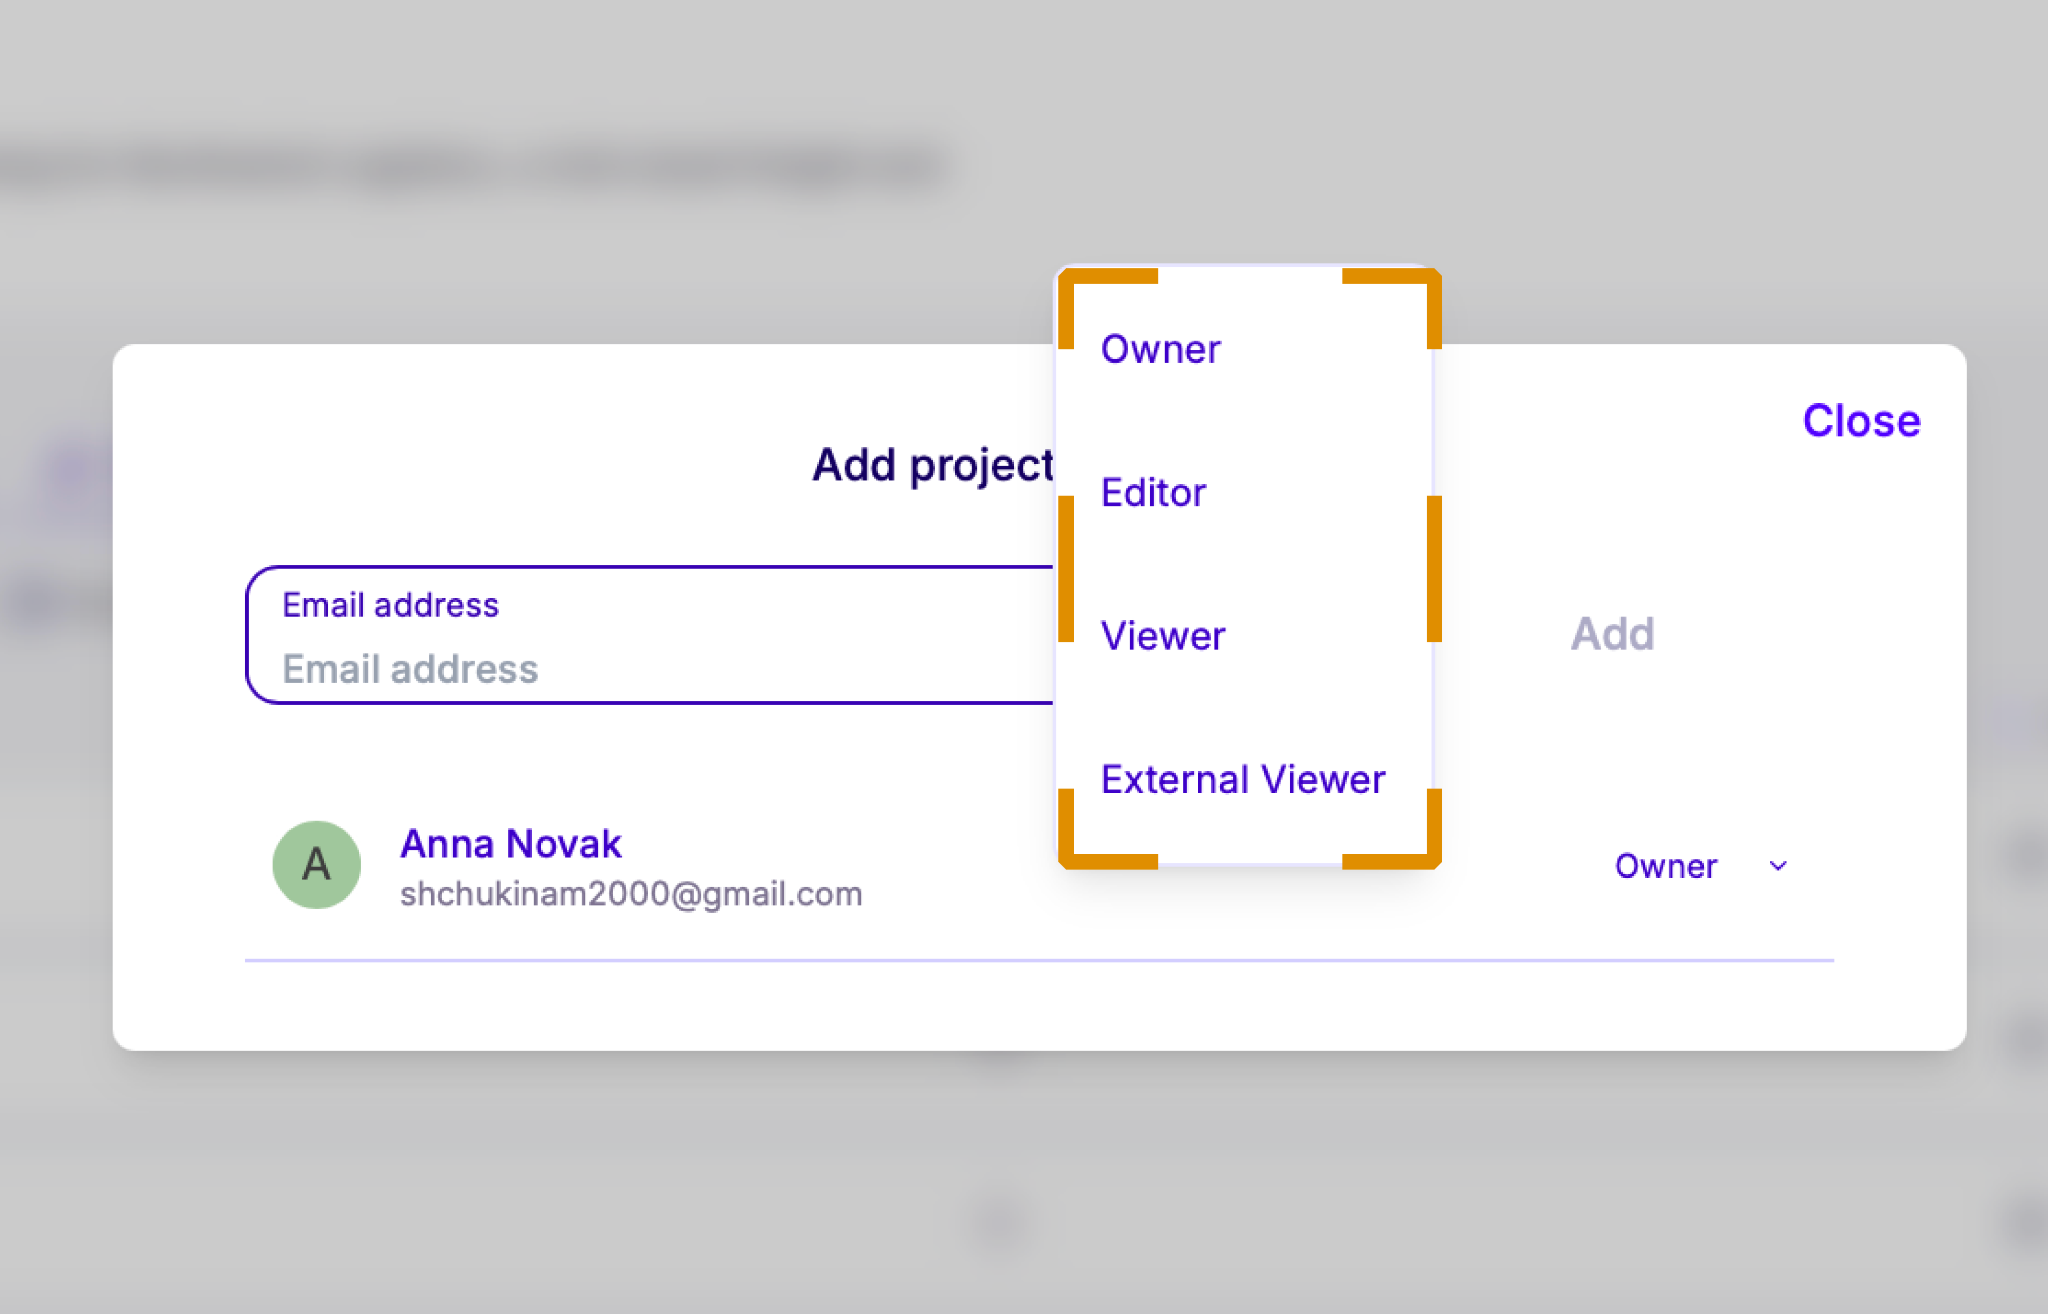
Enter your team members' email address, choose their role from the dropdown, and click Add. You can change a member's role at any time from the same list.
- Owner: Full control over the project, including managing members and settings.
- Editor: Can add and edit project content.
- Viewer: Can view the project but not make changes.
- External Viewer: Read-only access for people outside your organization, such as clients or partners.
Accept the invitation
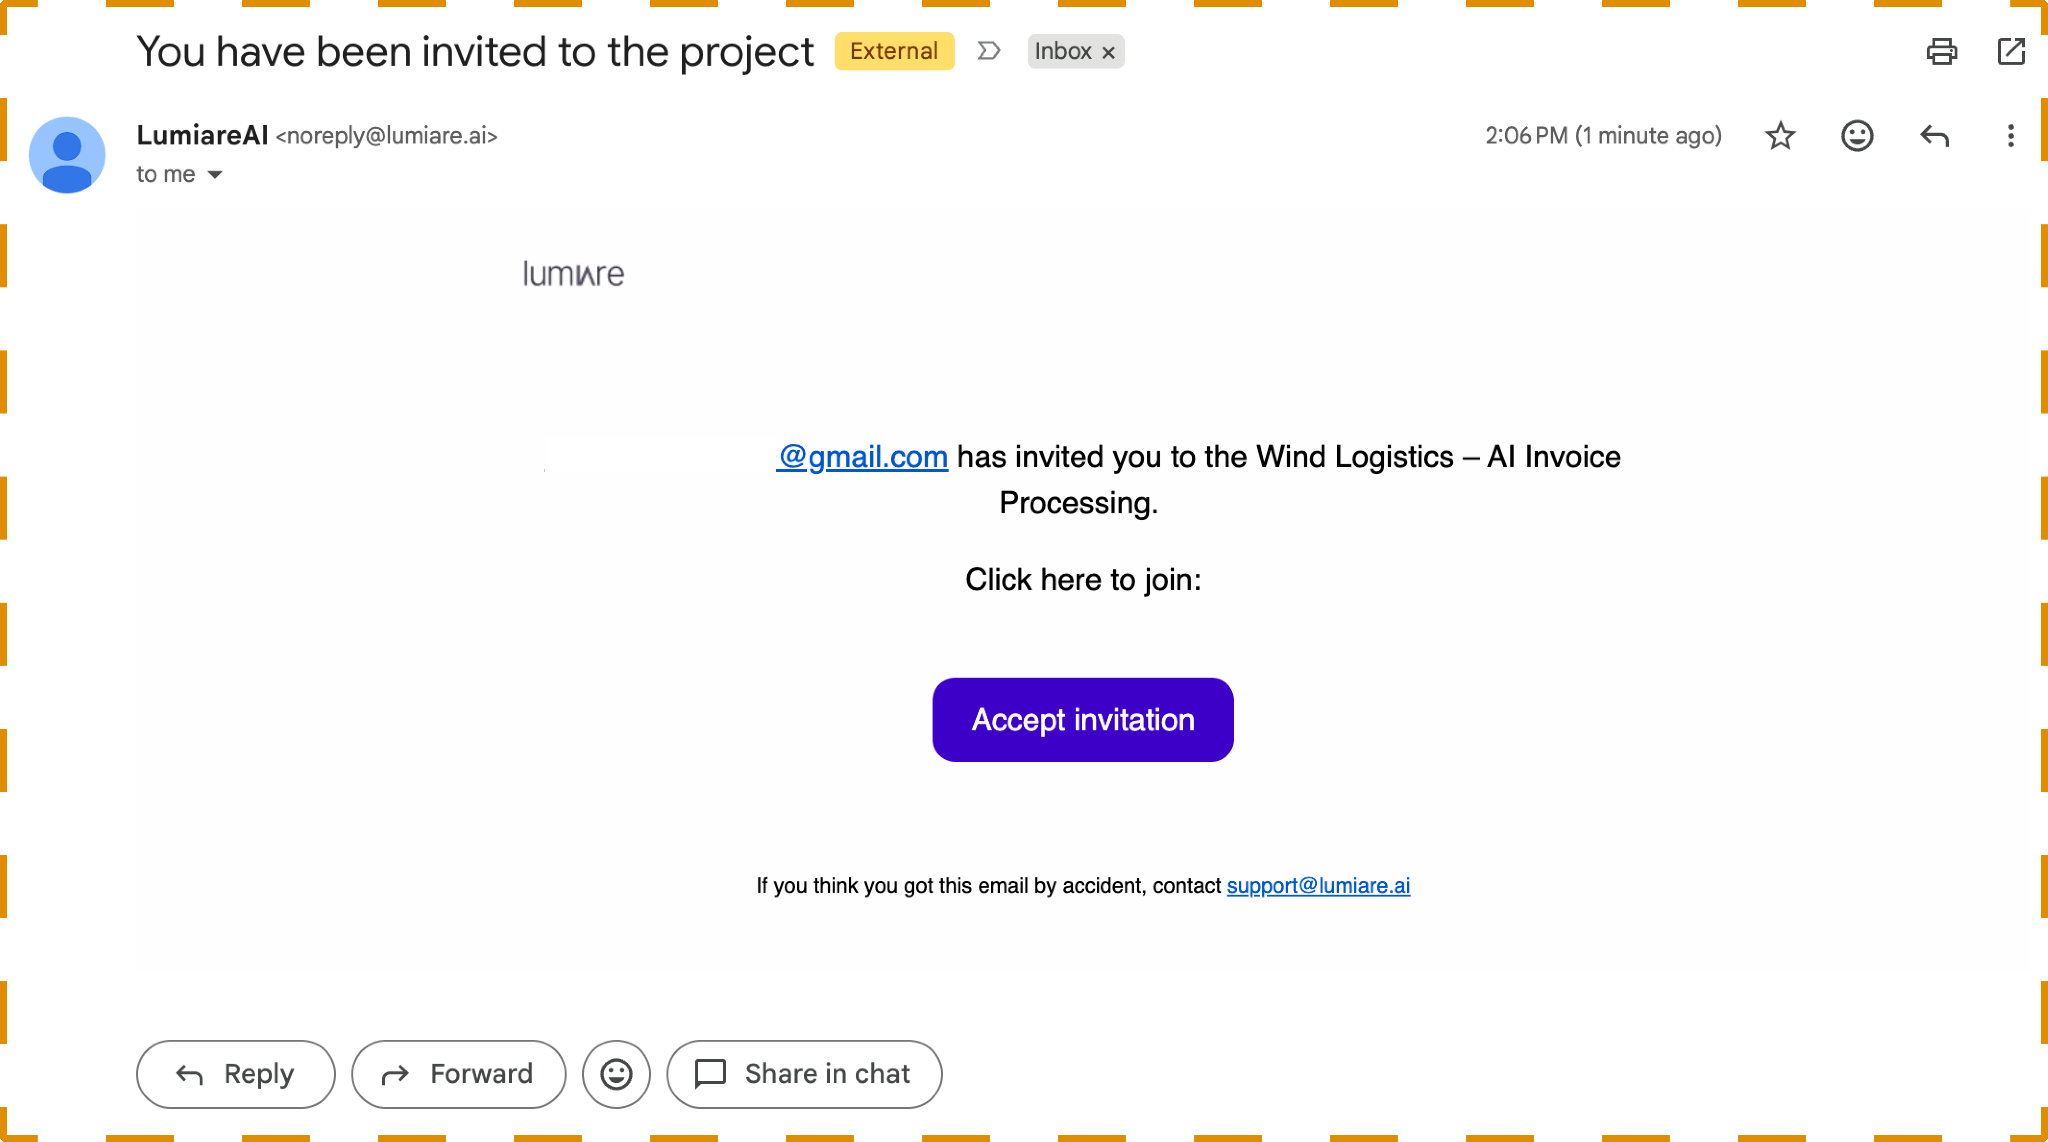
Each person you add receives an email invitation from Lumiare. To join the project, they just open the email and click Accept invitation.
If someone doesn't see the email, ask them to check their spam or promotions folder.